


How To Use AeroPress
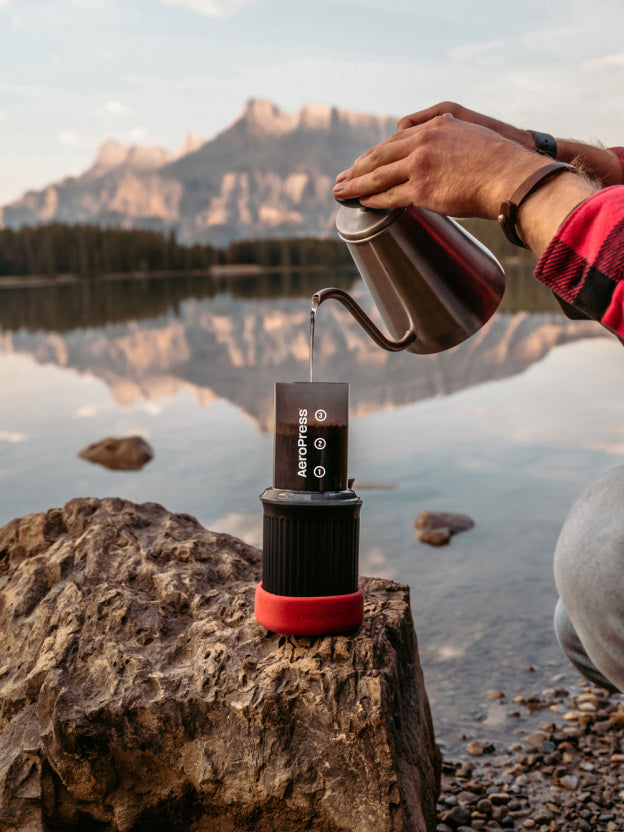
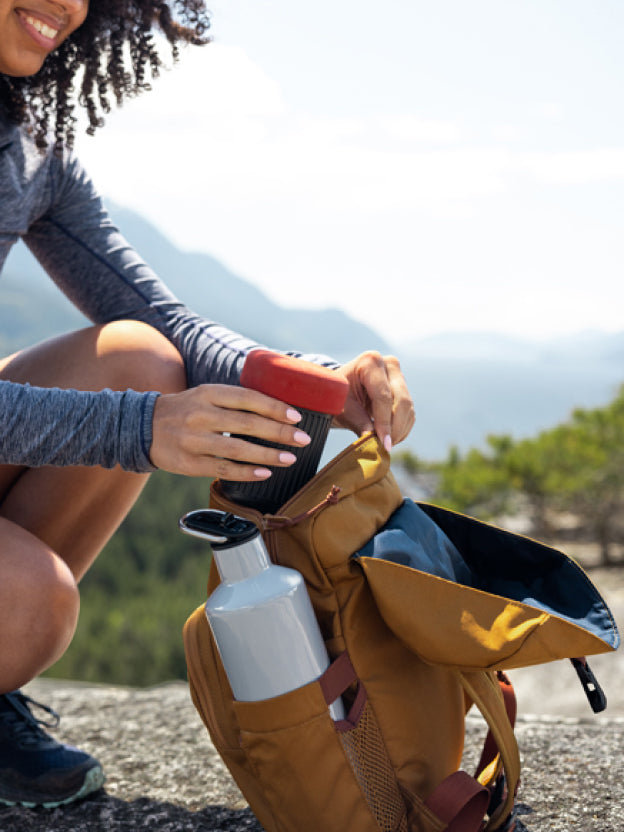
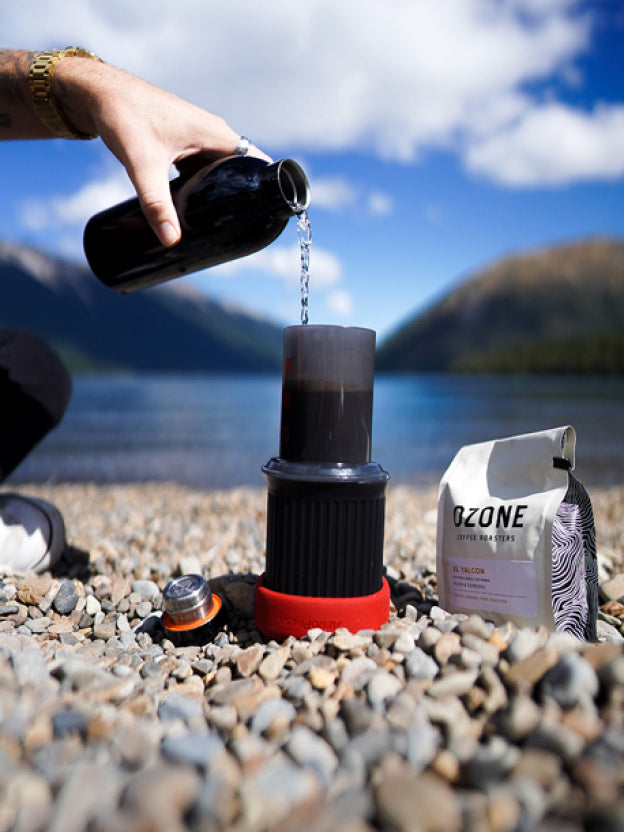
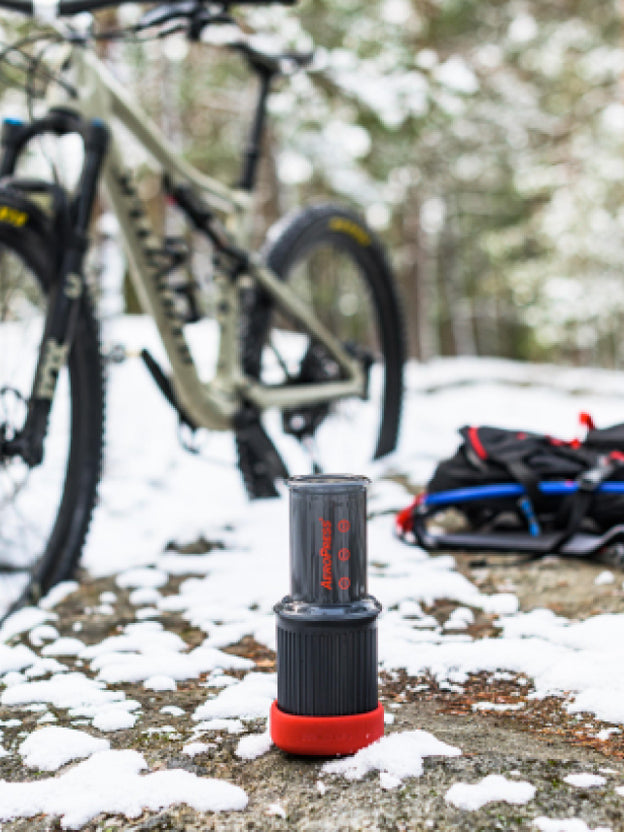
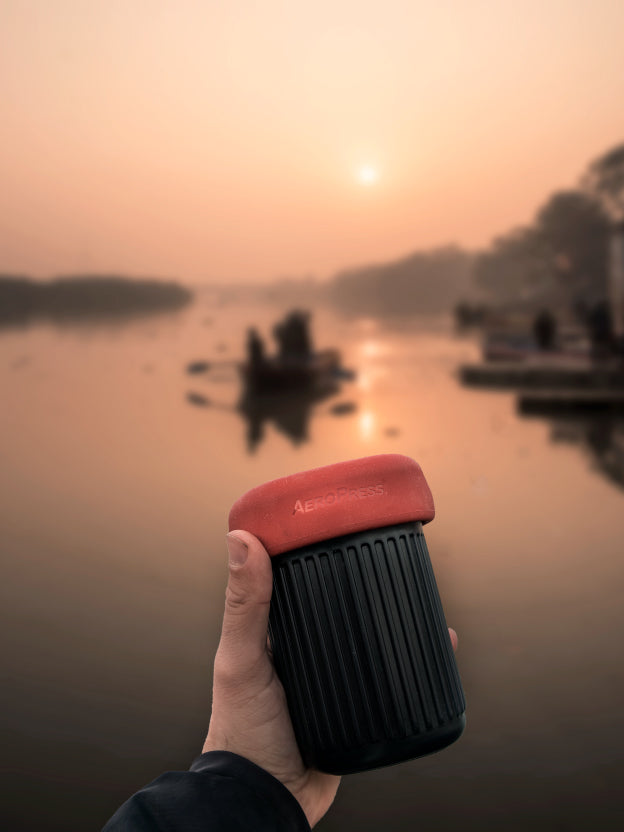
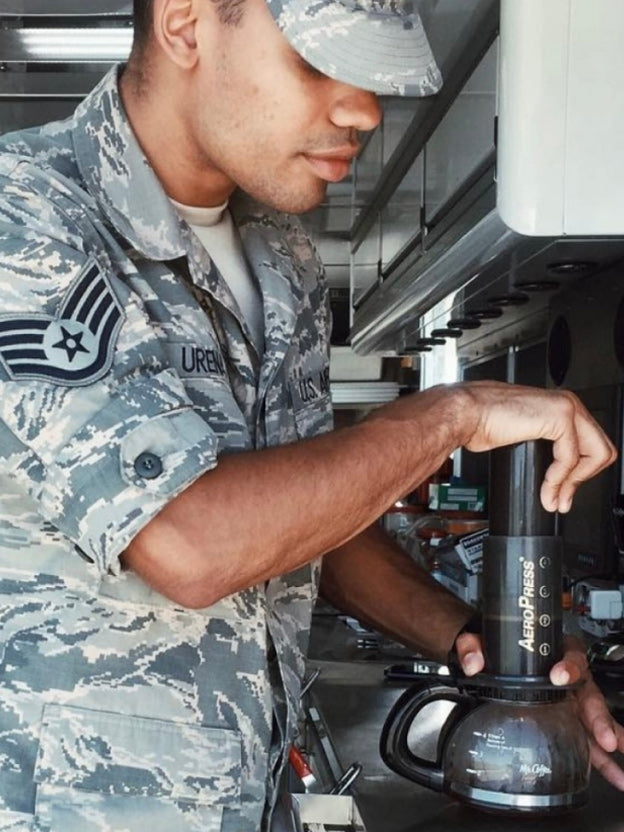
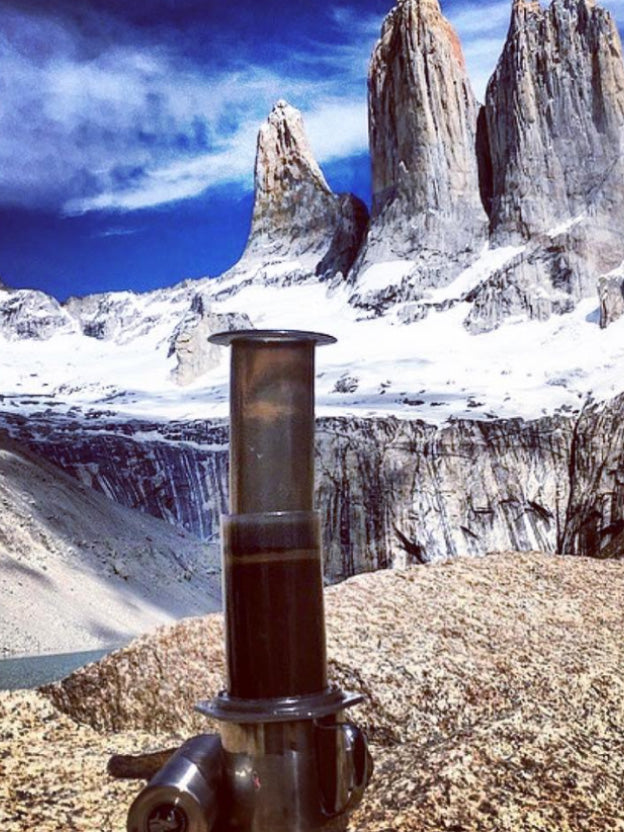
Wherever your adventure takes you
- Smooth
- Rich
- Full-Bodied
- Grit-Free


How to Brew
AeroPress Premium
Instructions If You Don't Own a Grinder
Signature brew preparation
The AeroPress Brew

Grind Size: Medium

What's included: 1) Plunger, 2) Chamber, 3) Filter Cap 4) Scoop, 5) Stirrer, 6) Paper Filter

What you’ll need to brew: AeroPress, Kettle, Mug, Pre-Ground Coffee

Prep and Clean up Time: less than 2 Minutes
- Heat water to 185°F (85°C) using your kettle. If you don’t have a temperature control kettle, use boiling water.
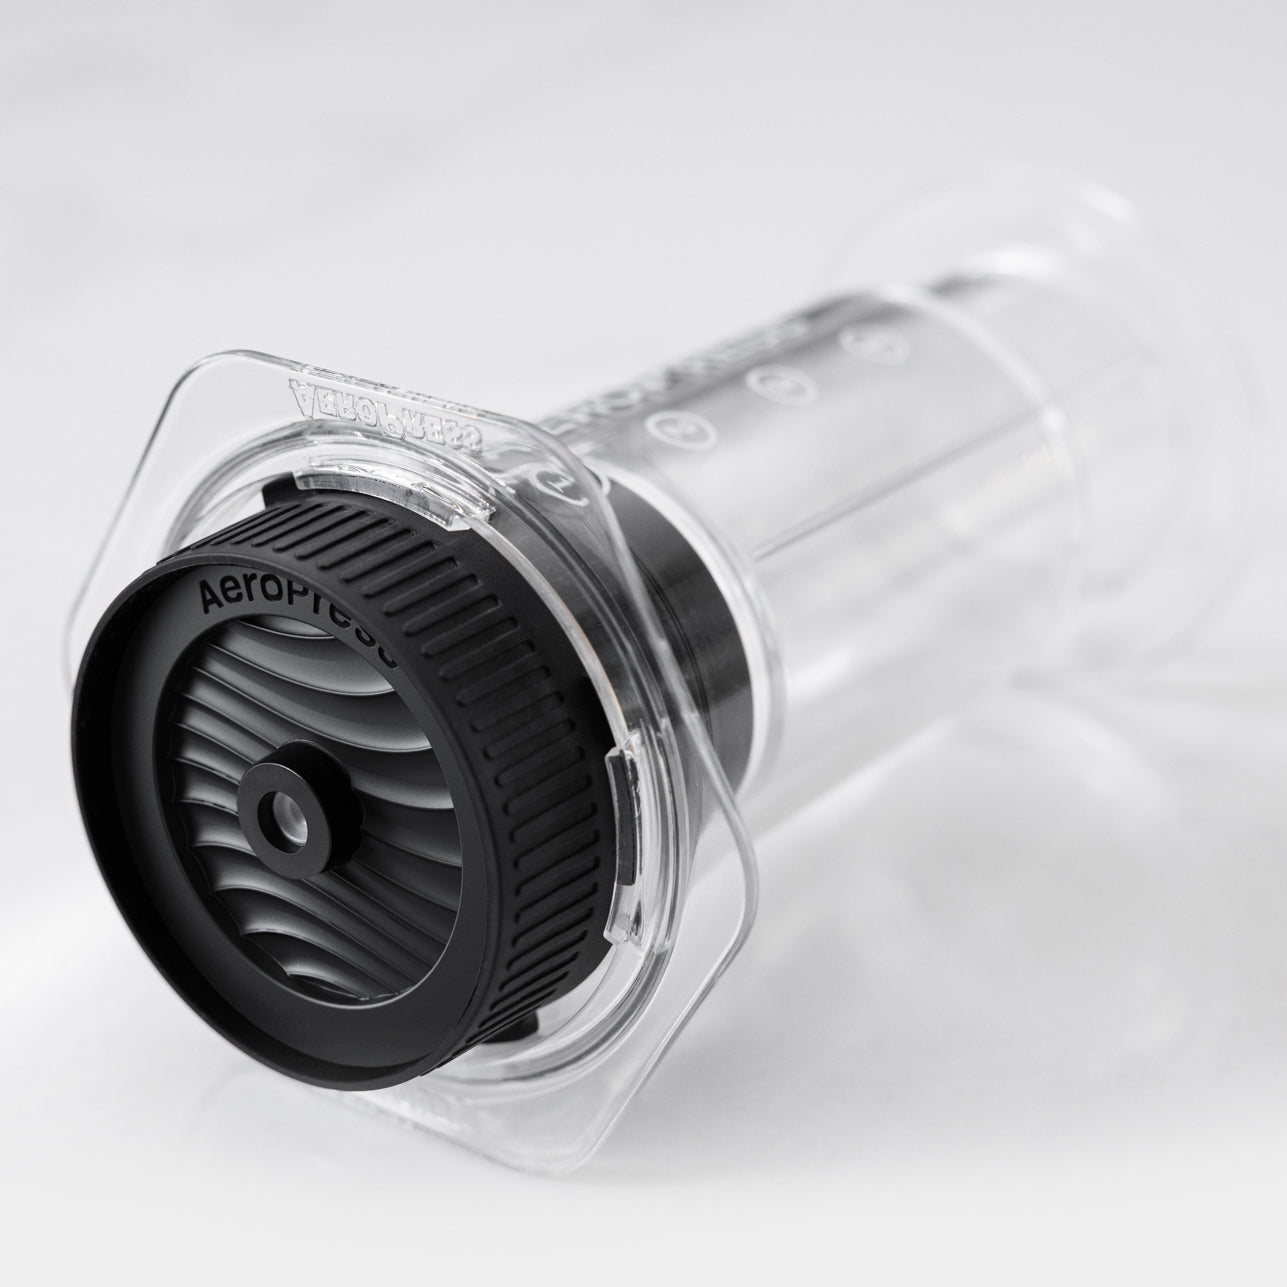
- Pull Plunger to separate entirely from Chamber.
- Insert Paper Filter into Filter Cap and twist Filter Cap onto Chamber.
- Stand Chamber on sturdy mug and add 1 heaping Scoop or 16-18 grams store-bought, medium ground coffee.
- Shake gently to level coffee. Pour water up to the 4 marked on side of Chamber. You will hear some coffee drip through into the mug. This is a normal part of the process.
- Stir gently for about 3 seconds. Then quickly insert Plunger about ½ inch into Chamber to create a vacuum to stop drip through. Wait 60 seconds.
- Press down on the Plunger, applying gentle constant pressure (do not push too hard). Press until you hear the hissing sound begin and end, an indication the last bit of brew has passed through the coffee bed and your coffee is ready.
- FILTER CAP IS HOT. Run Filter Cap under cool water for a few seconds before removing, or use cloth to remove. Position coffee press over sink or garbage bin and push Plunger the rest of the way through Chamber until you hear the pop as the coffee bed “puck” pops out.
- Discard Paper Filter and rinse Filter Cap and coffee press. Clean with lukewarm water, gentle soap, and a gentle cloth every week to preserve the life of your AeroPress Premium.
- Enjoy the uniquely smooth, rich, full-bodied flavor of an AeroPress 3 in 1 Brew.
Instructions If I Own a Grinder
Signature brew preparation
The AeroPress Brew
Grind: Medium-Fine
What's included: 1) Plunger, 2) Chamber, 3) Filter Cap 4) Scoop, 5) Stirrer, 6) Paper Filter
What you'll need to Brew: AeroPress, Grinder, Kettle, Mug, Coffee Beans
Prep and Clean up Time: less than 2 Minutes
- Heat water to 185°F (85°C) using your kettle. If you don’t have a temperature control kettle, use boiling water.
- Pull Plunger to separate entirely from Chamber.
- Insert Paper Filter into Filter Cap and twist Filter Cap onto Chamber.
- Stand Chamber on sturdy mug and add 1 heaping Scoop or 16-18 grams of medium-fine ground coffee (e.g. Baratza® Encore™ setting of 11-13).
- Shake gently to level coffee. Pour water up to the 4 marked on side of Chamber. You will hear some coffee drip through into the mug. This is a normal part of the process.
- Stir gently for about 5 seconds. Then quickly insert Plunger about ½ inch into Chamber to create a vacuum to stop drip through. Wait 30 seconds.
- Press down on the Plunger, applying gentle constant pressure (do not push too hard). Press until you hear the hissing sound begin and end, an indication the last bit of brew has passed through the coffee bed and your coffee is ready.
- FILTER CAP IS HOT. Run Filter Cap under cool water for a few seconds before removing, or use cloth to remove. Position coffee press over sink or garbage bin and push Plunger the rest of the way through Chamber until you hear the pop as the coffee bed “puck” pops out.
- Discard Paper Filter and rinse Filter Cap and coffee press. Clean with lukewarm water, gentle soap, and a gentle cloth every week to preserve the life of your AeroPress Premium.
- Enjoy the uniquely smooth, rich, full-bodied flavor of an AeroPress 3 in 1 Brew.
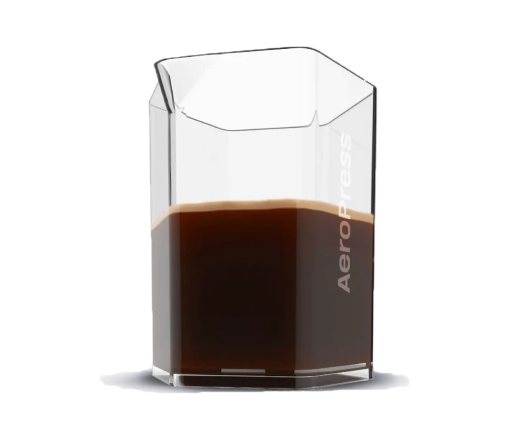
AeroPress Clear XL
Instructions If You Don't Own a Grinder
Signature brew preparation
The AeroPress Brew
Grind: Medium
What's included: 1) Plunger, 2) Chamber, 3) Filter Cap 4) Scoop, 5) Stirrer, 6) Paper Filter, 7) Carafe
What you’ll need to brew: AeroPress, Kettle, Mug, Pre-Ground Coffee
Prep and Clean up Time: less than 2 Minutes
- Heat water to 185F (85C) using your kettle (if you don’t have a kettle, boiling is fine).
- Pull Plunger (1) to separate entirely from Chamber (2).
- Put Paper Filter (6) in Filter Cap (3) and twist Filter Cap onto Chamber.
- Stand Chamber on AeroPress Carafe (7) and add 2 heaping Scoops (4) of storebought, medium ground coffee. If you are making one cup of coffee, just cut your portion in half.
- Shake gently to level coffee. Pour water up to #8 marked on the side of the Chamber. For one cup, fill to the number 4. You will see some coffee drip through into the carafe. This is normal and is part of the process
- Stir gently for 3 seconds Then insert Plunger about 1/2 inch into Chamber to create a vacuum and stop the drip through. Wait 60 seconds.
- Begin to Press the Plunger, applying gentle constant pressure (do not push too hard) until you hear the roar or hissing sound as the air pushes the last bit of brew through the coffee bed.
- Remove Filter Cap and place aside. Position AeroPress over sink or garbage bin and push the Plunger the rest of the way through the chamber until you hear the Pop as the coffee bed "puck" pops out.
- Remove Paper Filter from Filter Cap and rinse. Hold the AeroPress under fresh water and rinse the silicone plunger end and then store in the AeroPress Organizer Stand. Clean with gentle soap and a gentle cloth every two weeks to preserve the life of your AeroPress.
- Prepare yourself for the uniquely smooth, rich, full-bodied flavor of an AeroPress 3 in 1 Brew.
Instructions If I Own a Grinder
Signature brew preparation
The AeroPress Brew
Grind: Medium
What's included: 1) Plunger, 2) Chamber, 3) Filter Cap 4) Scoop, 5) Stirrer, 6) Paper Filter, 7) Carafe
What you'll need to Brew: AeroPress, Grinder, Kettle, Mug, Coffee Beans
Prep and Clean up Time: less than 2 Minutes
- Heat water to 185F (85C) using your kettle (if you don’t have a kettle, boiling is fine).
- Pull Plunger (1) to separate entirely from Chamber (2).
- Put Paper Filter (6) in Filter Cap (3) and twist Filter Cap onto Chamber.
- Stand Chamber on AeroPress Carafe (7) and add 32-36 grams or 2 heaping Scoops (4) of medium-fine ground coffee (e.g. Baratza® Encore™ Setting of 11-13). If you are making one cup of coffee, just cut your portion in half.
Baratza is a registered trademark and Encore is a trademark of Breville. - Shake gently to level coffee. Pour water up to #8 marked on the side of the Chamber. For one cup, fill to the number 4. You will see some coffee drip through into the carafe. This is normal and is part of the process.
- Stir gently for 5 seconds Then insert Plunger about 1/2 inch into Chamber to create a vacuum and stop the drip through. Wait 30 seconds.
- Begin to Press the Plunger, applying gentle constant pressure (do not push too hard) until you hear the roar or hissing sound as the air pushes the last bit of brew through the coffee bed.
- Remove Filter Cap and place aside. Position AeroPress over sink or garbage bin and push the Plunger the rest of the way through the chamber until you hear the Pop as the coffee bed "puck" pops out.
- Remove Paper Filter from Filter Cap and rinse. Hold the AeroPress under fresh water and rinse the silicone plunger end and then store in the AeroPress Organizer Stand. Clean with gentle soap and a gentle cloth every two weeks to preserve the life of your AeroPress.
- Prepare yourself for the uniquely smooth, rich, full-bodied flavor of an AeroPress 3 in 1 Brew.
AeroPress Clear
Instructions If You Don't Own a Grinder
See it in Action

Signature Brew Preparation
The AeroPress Brew
Grind Size: Medium
What's included: 1) Plunger, 2) Chamber, 3) Filter Cap 4) Scoop, 5) Stirrer, 6) Paper Filter
What you’ll need to brew: AeroPress, Kettle, Mug, Pre-Ground Coffee
Prep and Clean up Time: less than 2 Minutes
- Heat water to 185F (85C) using your kettle (if you don’t have a kettle, boiling is fine).
- Pull Plunger (1) to separate entirely from Chamber (2).
- Put Paper Filter (6) in Filter Cap (3) and twist Filter Cap onto Chamber.
- Stand Chamber on sturdy standard-sized coffee mug and add 1 heaping Scoop (4) of storebought, medium ground coffee.
- Shake gently to level coffee. Pour water up to #4 marked on the side of the Chamber. If your mug is clear, you will see some coffee drip through into your mug. This is normal and is part of the process.
- Stir gently for 3 seconds Then insert Plunger about 1/2 inch into Chamber to create a vacuum and stop the drip through. Wait 60 seconds.
- Begin to Press the Plunger, applying gentle constant pressure (do not push too hard) until you hear the roar or hissing sound as the air pushes the last bit of brew through the coffee bed.
- Remove Filter Cap and place aside. Position AeroPress over sink or garbage bin and push the Plunger the rest of the way through the chamber until you hear the Pop as the coffee bed "puck" pops out.
- Remove Paper Filter from Filter Cap and rinse. Hold the AeroPress under fresh water and rinse the silicone plunger end and then store in the AeroPress Organizer Stand. Clean with gentle soap and a gentle cloth every two weeks to preserve the life of your AeroPress.
- Prepare yourself for the uniquely smooth, rich, full-bodied flavor of an AeroPress 3 in 1 Brew.
Instructions If I Own a Grinder
See it in Action

Signature Brew Preparation
The AeroPress Brew
Grind: Medium-Fine
What's included: 1) Plunger, 2) Chamber, 3) Filter Cap 4) Scoop, 5) Stirrer, 6) Paper Filter
What you'll need to Brew: AeroPress, Grinder, Kettle, Mug, Coffee Beans
Prep and Clean up Time: less than 2 Minutes
- Heat water to 185F (85C) using your kettle (if you don’t have a kettle, boiling is fine).
- Pull Plunger (1) to separate entirely from Chamber (2).
- Put Paper Filter (6) in Filter Cap (3) and twist Filter Cap onto Chamber.
- Stand Chamber on sturdy standard-sized coffee mug and add 16-18 grams or 1 heaping Scoop (4) of medium-fine ground coffee (e.g. Baratza® Encore™ Setting of 11-13).
Baratza is a registered trademark and Encore is a trademark of Breville. - Shake gently to level coffee. Pour water up to #4 marked on the side of the Chamber. If your mug is clear, you will see some coffee drip through into your mug. This is normal and is part of the process.
- Stir gently for 5 seconds Then insert Plunger about 1/2 inch into Chamber to create a vacuum and stop the drip through. Wait 30 seconds.
- Begin to Press the Plunger, applying gentle constant pressure (do not push too hard) until you hear the roar or hissing sound as the air pushes the last bit of brew through the coffee bed.
- Remove Filter Cap and place aside. Position AeroPress over sink or garbage bin and push the Plunger the rest of the way through the chamber until you hear the Pop as the coffee bed "puck" pops out.
- Remove Paper Filter from Filter Cap and rinse. Hold the AeroPress under fresh water and rinse the silicone plunger end and then store in the AeroPress Organizer Stand. Clean with gentle soap and a gentle cloth every two weeks to preserve the life of your AeroPress.
- Prepare yourself for the uniquely smooth, rich, full-bodied flavor of an AeroPress 3 in 1 Brew.
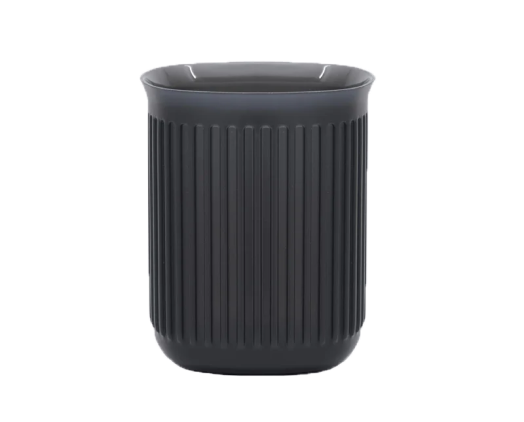
AeroPress Go Plus
Instructions If You Don't Own a Grinder
Signature Brew Preparation
The AeroPress Brew
Grind: Medium
What's included with Your AeroPress Go Plus: 1) Plunger, 2) Chamber, 3) Stirrer 4) Filter Cap, 5) Paper Filters, 6) Scoop, 7) Tumbler (includes lid and filter holder)
What you'll Need: AeroPress Go Plus, Pre-Ground Coffee, Kettle
Prep & Clean Up: Less than 2 Minutes
- Heat water to 185°F (85°C) using your kettle. If you don’t have a temperature control kettle, use boiling water.
- Pull Plunger (1) to separate entirely from Chamber (2).
- Insert Paper Filter (5) into Filter Cap (4) and twist Filter Cap onto Chamber.
- Stand Chamber on Tumbler (7) and add 1 heaping Scoop (6) or 16-18 grams store-bought, medium ground coffee.
- Shake gently to level coffee. Pour water up to the 4 marked on side of Chamber. You will hear some coffee drip through into the Tumbler. This is a normal part of the process.
- Stir (3) gently for about 3 seconds. Then quickly insert Plunger about 1/2 inch into Chamber to create a vacuum to stop drip through. Wait 60 seconds.
- Press down on the Plunger, applying gentle constant pressure (do not push too hard). When you get close to the bottom of the Chamber you will hear a hissing sound as the air begins to push the last bit of brew through the coffee bed. The end of the hissing sound is your signal that Plunger has reached the bottom and your brew is ready.
- Remove Filter Cap. Position coffee press over sink or garbage bin and push Plunger the rest of the way through Chamber until you hear the pop as the coffee bed "puck" pops out.
- Discard Paper Filter and rinse Filter Cap and coffee press. Clean with lukewarm water, gentle soap, and a gentle cloth every week to preserve the life of your AeroPress Go Plus.
- Press on the lid and enjoy the uniquely smooth, rich, full-bodied flavor of an AeroPress 3 in 1 Brew.
Instructions If I Own a Grinder
Signature Brew Preparation
The AeroPress Brew
Grind: Medium-Fine
What's included with Your AeroPress Go Plus: 1) Plunger, 2) Chamber, 3) Stirrer 4) Filter Cap, 5) Paper Filters, 6) Scoop, 7) Tumbler (includes lid and filter holder)
What You'll Need: AeroPress Go Plus, Grinder, Kettle, Coffee Beans
Prep & Clean Up: Less than 2 Minutes
- Heat water to 185°F (85°C) using your kettle. If you don’t have a temperature control kettle, use boiling water.
- Pull Plunger (1) to separate entirely from Chamber (2).
- Insert Paper Filter (5) into Filter Cap (4) and twist Filter Cap onto Chamber.
- Stand Chamber on Tumbler (7) and add 1 heaping Scoop (6) or 16-18 grams of medium-fine ground coffee (e.g. Baratza® Encore™ setting of 11-13).
- Shake gently to level coffee. Pour water up to the 4 marked on side of Chamber. You will hear some coffee drip through into the Tumbler. This is a normal part of the process.
- Stir (3) gently for about 5 seconds. Then quickly insert Plunger about 1/2 inch into Chamber to create a vacuum to stop drip through. Wait 30 seconds.
- Press down on the Plunger, applying gentle constant pressure (do not push too hard). When you get close to the bottom of the Chamber you will hear a hissing sound as the air begins to push the last bit of brew through the coffee bed. The end of the hissing sound is your signal that Plunger has reached the bottom and your brew is ready.
- Remove Filter Cap. Position coffee press over sink or garbage bin and push Plunger the rest of the way through Chamber until you hear the pop as the coffee bed "puck" pops out.
- Discard Paper Filter and rinse Filter Cap and coffee press. Clean with lukewarm water, gentle soap, and a gentle cloth every week to preserve the life of your AeroPress Go Plus.
- Press on the lid and enjoy the uniquely smooth, rich, full-bodied flavor of an AeroPress 3 in 1 Brew.
AeroPress Original XL
Instructions If You Don't Own a Grinder
See it in Action

Signature Brew Preparation
The AeroPress Brew
Grind: Store-Bought Medium
What's included: 1) Plunger, 2) Chamber, 3) Filter Cap 4) Scoop, 5) Stirrer, 6) Paper Filter, 7) Carafe
What you’ll need to brew: AeroPress, Kettle, Mug, Pre-Ground Coffee
Brew And Clean Up Time: less than 2 Minutes
- Heat water to 185F (85C) using your kettle (if you don’t have a kettle, boiling is fine).
- Pull Plunger (1) to separate entirely from Chamber (2).
- Put Paper Filter (6) in Filter Cap (3) and twist Filter Cap onto Chamber.
- Stand Chamber on AeroPress Carafe (7) and add 2 heaping Scoops (4) of storebought, medium ground coffee. If you are making one cup of coffee, just cut your portion in half.
- Shake gently to level coffee. Pour water up to #8 marked on the side of the Chamber. For one cup, fill to the number 4. You will see some coffee drip through into the carafe. This is normal and is part of the process.
- Stir gently for 3 seconds. Then quickly insert Plunger about a 1/2 inch into Chamber to create a vacuum and stop the drip through. Wait 60 seconds.
- Begin to press the plunger, applying gentle constant pressure (do not push too hard) until you hear the roar or hissing sound as the air pushes the last bit of brew through the coffee bed.
- Remove Filter Cap and place aside. Position AeroPress over sink or garbage bin and push the Plunger the rest of the way through the chamber until you hear the Pop as the coffee bed "puck" pops out.
- Remove Paper Filter from Filter Cap and rinse. Hold the AeroPress under fresh water and rinse the silicone plunger end and then store in the AeroPress Organizer Stand. Clean with gentle soap and a gentle cloth every week to preserve the life of your AeroPress.
- Prepare yourself for the uniquely smooth, rich, full-bodied flavor of an AeroPress 3 in 1 Brew.
Instructions If I Own a Grinder
See it in Action

Signature Brew Preparation
The AeroPress Brew
Grind: Medium
What's included: 1) Plunger, 2) Chamber, 3) Filter Cap 4) Scoop, 5) Stirrer, 6) Paper Filter, 7) Carafe
What you'll need to Brew: AeroPress, Grinder, Kettle, Mug, Coffee Beans
Brew And Clean Up Time: less than 2 Minutes
- Heat water to 185F (85C) using your kettle (if you don’t have a kettle, boiling is fine).
- Pull Plunger (1) to separate entirely from Chamber (2).
- Put Paper Filter (6) in Filter Cap (3) and twist Filter Cap onto Chamber.
- Stand Chamber on AeroPress Carafe (7) and add 32-36 grams or 2 heaping Scoops (4) of medium-fine ground coffee (e.g. Baratza® Encore™ Setting of 11-13). If you are making one cup of coffee, just cut your portion in half.
Baratza is a registered trademark and Encore is a trademark of Breville. - Shake gently to level coffee. Pour water up to #8 marked on the side of the Chamber. For one cup, fill to the number 4. You will see some coffee drip through into the carafe. This is normal and is part of the process.
- Stir gently for 5 seconds Then insert Plunger about 1/2 inch into Chamber to create a vacuum and stop the drip through. Wait 30 seconds.
- Begin to Press the Plunger, applying gentle constant pressure (do not push too hard) until you hear the roar or hissing sound as the air pushes the last bit of brew through the coffee bed.
- Remove Filter Cap and place aside. Position AeroPress over sink or garbage bin and push the Plunger the rest of the way through the chamber until you hear the Pop as the coffee bed "puck" pops out.
- Remove Paper Filter from Filter Cap and rinse. Hold the AeroPress under fresh water and rinse the silicone plunger end and then store in the AeroPress Organizer Stand. Clean with gentle soap and a gentle cloth every two weeks to preserve the life of your AeroPress.
- Prepare yourself for the uniquely smooth, rich, full-bodied flavor of an AeroPress 3 in 1 Brew.
AeroPress Original
Instructions If You Don't Own a Grinder
See it in Action

Signature Brew Preparation
The AeroPress Brew
Grind: Medium
What's included: 1) Plunger, 2) Chamber, 3) Filter Cap 4) Scoop, 5) Stirrer, 6) Paper Filter
What you’ll need to brew: AeroPress, Kettle, Mug, Pre-Ground Coffee
Prep and Clean up Time: less than 2 Minutes
- Heat water to 185F (85C) using your kettle (if you don’t have a kettle, boiling is fine).
- Pull Plunger (1) to separate entirely from Chamber (2).
- Put Paper Filter (6) in Filter Cap (3) and twist Filter Cap onto Chamber.
- Stand Chamber on sturdy standard-sized coffee mug and add 1 heaping Scoop (4) of storebought, medium ground coffee.
- Shake gently to level coffee. Pour water up to #4 marked on the side of the Chamber. If your mug is clear, you will see some coffee drip through into your mug. This is normal and is part of the process.
- Stir gently for 3 seconds Then insert Plunger about 1/2 inch into Chamber to create a vacuum and stop the drip through. Wait 60 seconds.
- Begin to Press the Plunger, applying gentle constant pressure (do not push too hard) until you hear the roar or hissing sound as the air pushes the last bit of brew through the coffee bed.
- Remove Filter Cap and place aside. Position AeroPress over sink or garbage bin and push the Plunger the rest of the way through the chamber until you hear the Pop as the coffee bed "puck" pops out.
- Remove Paper Filter from Filter Cap and rinse. Hold the AeroPress under fresh water and rinse the silicone plunger end and then store in the AeroPress Organizer Stand. Clean with gentle soap and a gentle cloth every two weeks to preserve the life of your AeroPress.
- Prepare yourself for the uniquely smooth, rich, full-bodied flavor of an AeroPress 3 in 1 Brew.
Instructions If I Own a Grinder
See it in Action

Signature Brew Preparation
The AeroPress Brew
Grind: Medium-Fine
What's included: 1) Plunger, 2) Chamber, 3) Filter Cap 4) Scoop, 5) Stirrer, 6) Paper Filter
What you'll need to Brew: AeroPress, Grinder, Kettle, Mug, Coffee Beans
Prep and Clean up Time: less than 2 Minutes
- Heat water to 185F (85C) using your kettle (if you don’t have a kettle, boiling is fine).
- Pull Plunger (1) to separate entirely from Chamber (2).
- Put Paper Filter (6) in Filter Cap (3) and twist Filter Cap onto Chamber.
- Stand Chamber on sturdy standard-sized coffee mug and add 16-18 grams or 1 heaping Scoop (4) of medium-fine ground coffee (e.g. Baratza® Encore™ Setting of 11-13).
Baratza is a registered trademark and Encore is a trademark of Breville. - Shake gently to level coffee. Pour water up to #4 marked on the side of the Chamber. If your mug is clear, you will see some coffee drip through into your mug. This is normal and is part of the process.
- Stir gently for 5 seconds Then insert Plunger about 1/2 inch into Chamber to create a vacuum and stop the drip through. Wait 30 seconds.
- Begin to Press the Plunger, applying gentle constant pressure (do not push too hard) until you hear the roar or hissing sound as the air pushes the last bit of brew through the coffee bed.
- Remove Filter Cap and place aside. Position AeroPress over sink or garbage bin and push the Plunger the rest of the way through the chamber until you hear the Pop as the coffee bed "puck" pops out.
- Remove Paper Filter from Filter Cap and rinse. Hold the AeroPress under fresh water and rinse the silicone plunger end and then store in the AeroPress Organizer Stand. Clean with gentle soap and a gentle cloth every two weeks to preserve the life of your AeroPress.
- Prepare yourself for the uniquely smooth, rich, full-bodied flavor of an AeroPress 3 in 1 Brew.
AeroPress Go
Instructions If You Don't Own a Grinder
See it in Action

Signature Brew Preparation
The AeroPress Brew
Grind: Medium
What's included: 1) Plunger, 2) Chamber, 3) Filter Cap 4) Scoop, 5) Stirrer, 6) Paper Filter, 7) Go Mug and Lid
What you’ll need to brew: AeroPress, Kettle, Mug, Pre-Ground Coffee
Prep and Clean up Time: less than 2 Minutes
- Heat water to 185F (85C) using your kettle (if you don’t have a kettle, boiling is fine).
- Pull Plunger (1) to separate entirely from Chamber (2).
- Put Paper Filter (6) in Filter Cap (3) and twist Filter Cap onto Chamber.
- Stand Chamber on the Go Mug (7) and add a little less than a full scoop (4) of storebought, medium ground coffee.
- Shake gently to level coffee. Pour water up to #3 marked on the side of the Chamber. You may hear some coffee dripping into your Go Mug. This is normal and is part of the process.
- Stir gently for 3 seconds Then insert Plunger about 1/2 inch into Chamber to create a vacuum and stop the drip through. Wait 60 seconds.
- Begin to Press the Plunger, applying gentle constant pressure (do not push too hard) until you hear the roar or hissing sound as the air pushes the last bit of brew through the coffee bed.
- Remove Filter Cap and place aside. Position AeroPress over sink or garbage bin and push the Plunger the rest of the way through the chamber until you hear the Pop as the coffee bed "puck" pops out.
- Remove Paper Filter from Filter Cap and rinse. Hold the AeroPress under fresh water and rinse the silicone plunger end and then store the AeroPress in the AeroPress Go cup.
- Prepare yourself for the uniquely smooth, rich, full-bodied flavor of an AeroPress 3 in 1 Brew.
Instructions If I Own a Grinder
See it in Action

Signature Brew Preparation
The AeroPress Brew
Grind: Medium-Fine
What's included: 1) Plunger, 2) Chamber, 3) Filter Cap 4) Scoop, 5) Stirrer, 6) Paper Filter, 7) Go Mug and Lid
What you'll need to Brew: AeroPress, Grinder, Kettle, Mug, Coffee Beans
Prep and Clean up Time: less than 2 Minutes
- Heat water to 185F (85C) using your kettle (if you don’t have a kettle, boiling is fine).
- Pull Plunger (1) to separate entirely from Chamber (2).
- Put Paper Filter (6) in Filter Cap (3) and twist Filter Cap onto Chamber.
- Stand Chamber on the Go Mug (7) and add 12-14 grams or a little less than a full scoop (4) of medium-fine ground coffee (e.g. Baratza® Encore™ Setting of 11-13).
Baratza is a registered trademark and Encore is a trademark of Breville. - Shake gently to level coffee. Pour water up to #3 marked on the side of the Chamber. You may hear some coffee dripping into your Go Mug. This is normal and is part of the process.
- Stir gently for 5 seconds Then insert Plunger about 1/2 inch into Chamber to create a vacuum and stop the drip through. Wait 30 seconds.
- Begin to Press the Plunger, applying gentle constant pressure (do not push too hard) until you hear the roar or hissing sound as the air pushes the last bit of brew through the coffee bed.
- Remove Filter Cap and place aside. Position AeroPress over sink or garbage bin and push the Plunger the rest of the way through the chamber until you hear the Pop as the coffee bed "puck" pops out.
- Remove Paper Filter from Filter Cap and rinse. Hold the AeroPress under fresh water and rinse the silicone plunger end and then store the AeroPress in the AeroPress Go cup.
- Prepare yourself for the uniquely smooth, rich, full-bodied flavor of an AeroPress 3 in 1 Brew.

Get Creative with Thousands of Recipes
- Featured
- Core
- Hot
- Cold
- Popular
- See All
Double Your Warranty
Register your product to extend your warranty to 2 years
International Instructions
International Instructions


FAQ
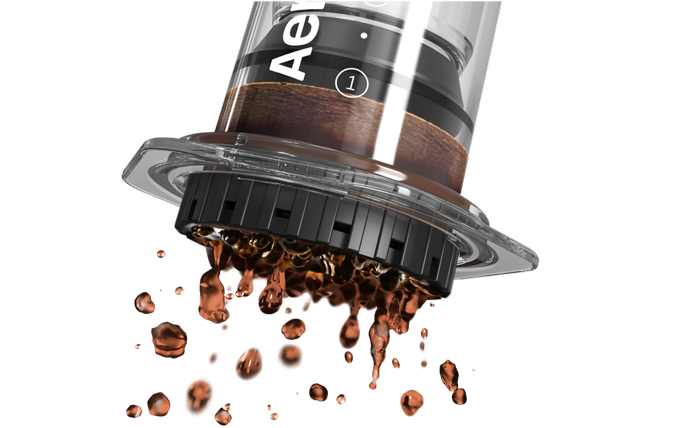
The AeroPress differs from a French Press in three key ways: it uses air pressure for rapid extraction which reduces bitterness, a paper micro-filter that eliminates grit for a smoother cup, and a much shorter brew time of about a minute.
With the AeroPress 3 in 1 brew method, you can make a rich, smooth cup of coffee in about a minute.
The AeroPress produces a uniquely versatile cup of coffee with a 3-in-1 flavor profile: it's full-bodied like a French Press, smooth like a Pour-Over, and rich like an espresso, all without any grit or high acidity.
Yes, cleanup is famously fast. After pressing, the plunger pushes the used coffee grounds and filter out in a compact, dry 'puck' that can be popped directly into the trash or compost. A simple rinse of the plunger is all that's needed."